MAINTENANCE/TROUBLESHOOTING/APPLICATION EXAMPLES
Top of Support & Service > MAINTENANCE/TROUBLESHOOTING/APPLICATION EXAMPLES > Daily check for desoldering tool
For using a desoldering tool in good condition, it is recommended to conduct a daily check after every use and aperiodic inspection depending on the frequency of usein a correct way.
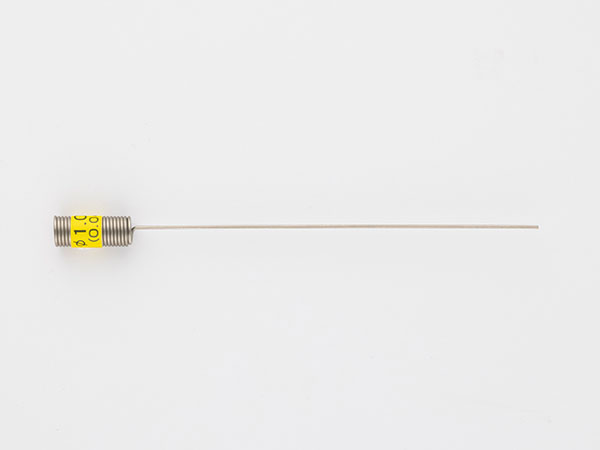

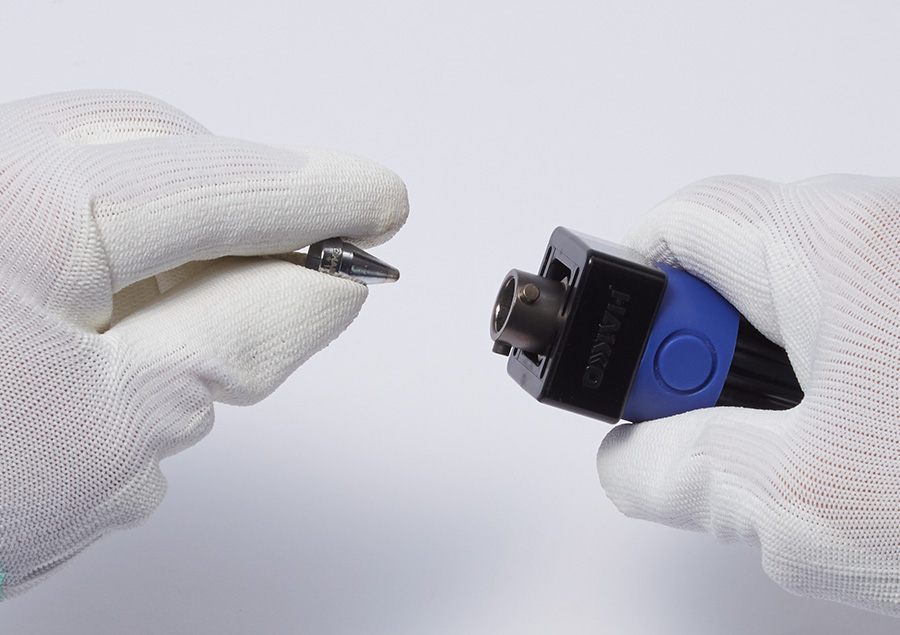
The cleaning pin and cleaning nozzle packed in your purchased product are for 1 mm dia. nozzle. Everything else is optional.
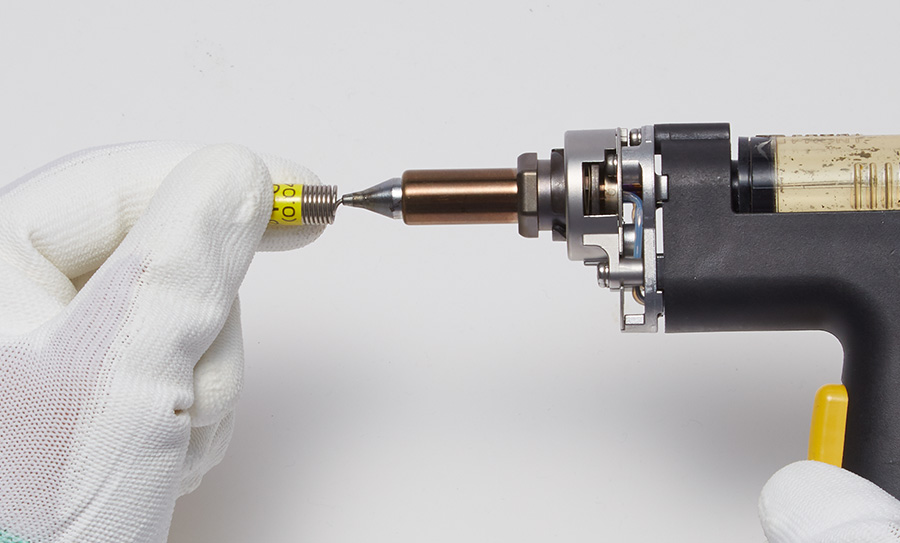
Conduct daily check after use keeping the nozzle heated.
Ensure to wear gloves not to get burned due to high temperature.
You cannot conduct cleaning if inside the heating element is not heated enough.
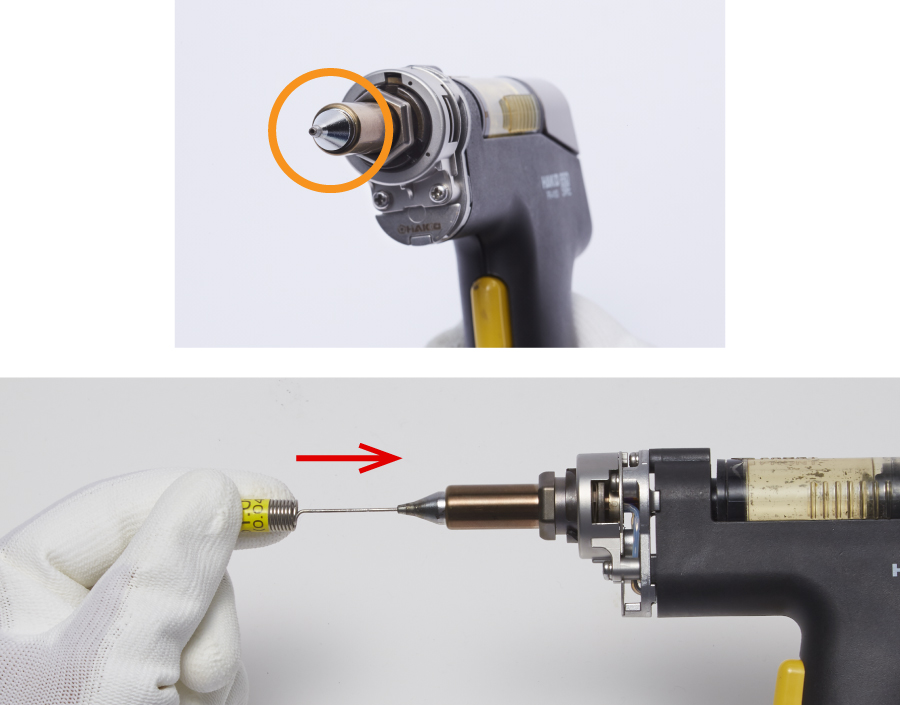
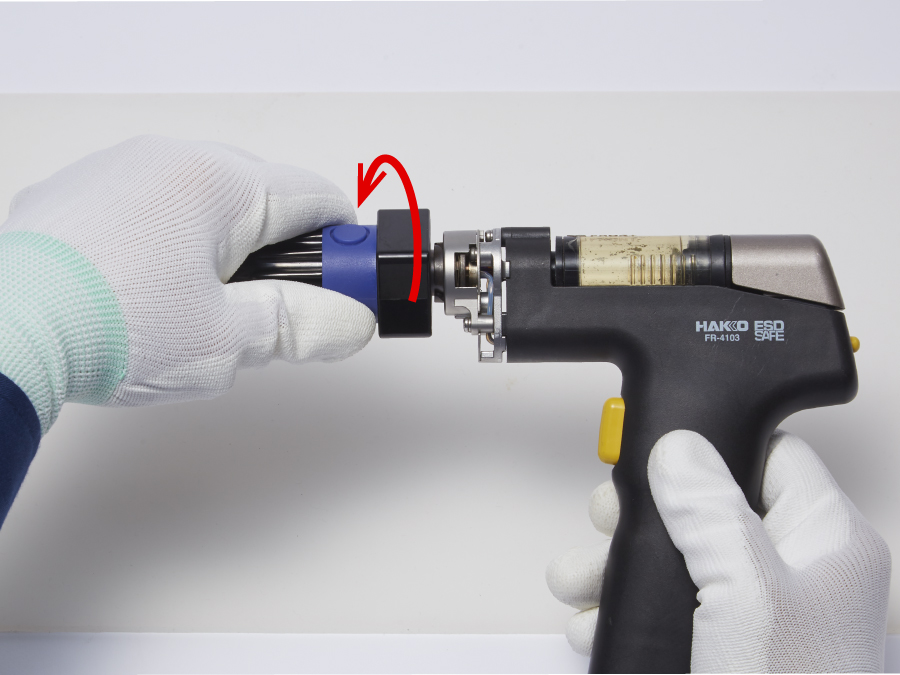
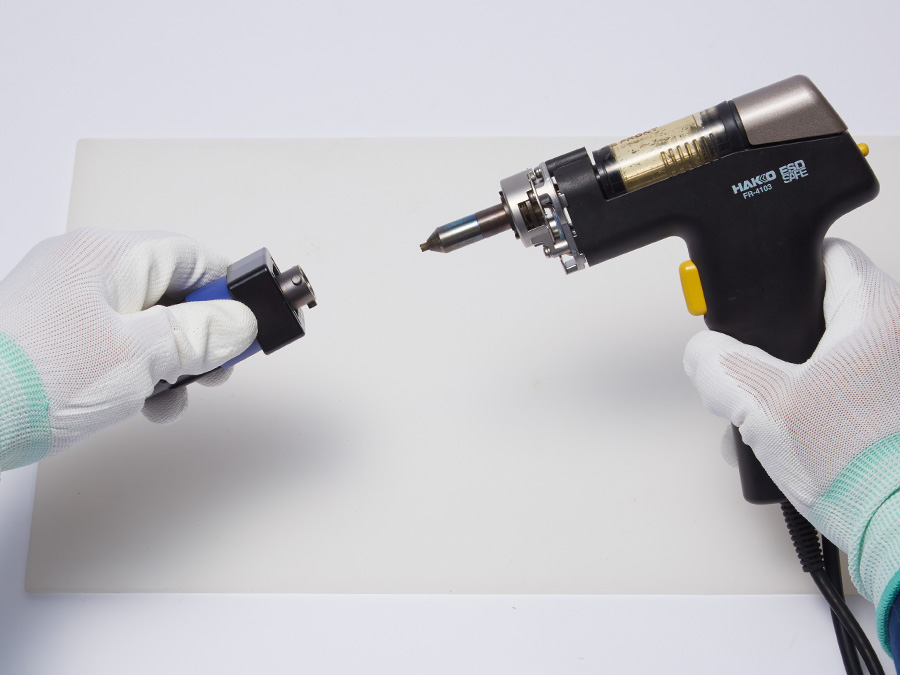
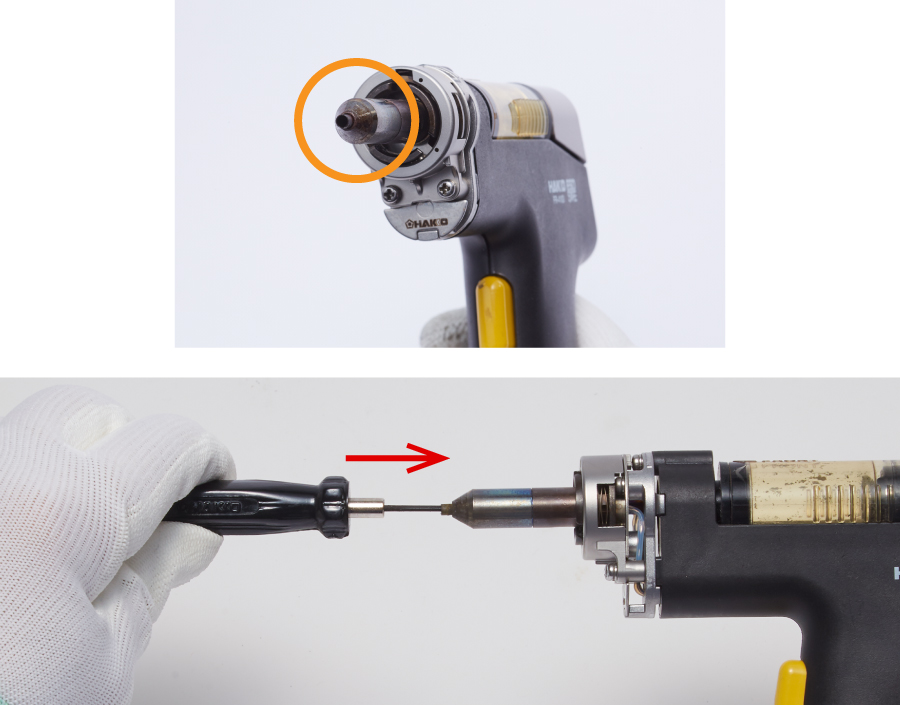
Insert the cleaning pin for nozzle into the nozzle top and check if it goes through the heating element hole.
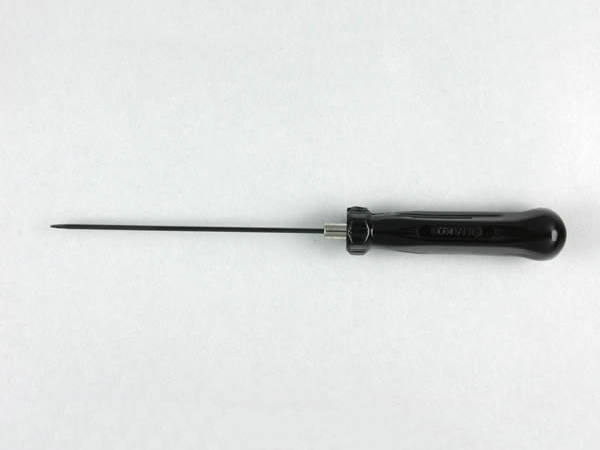
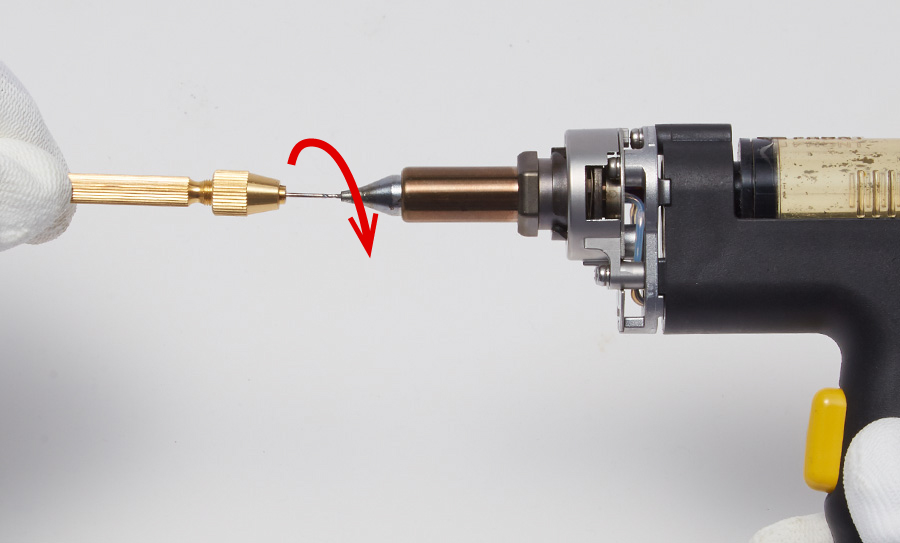
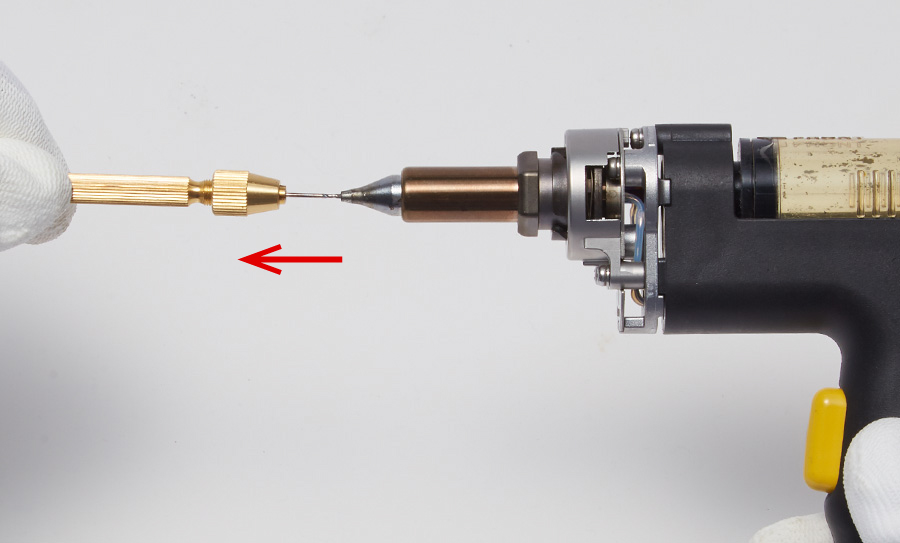
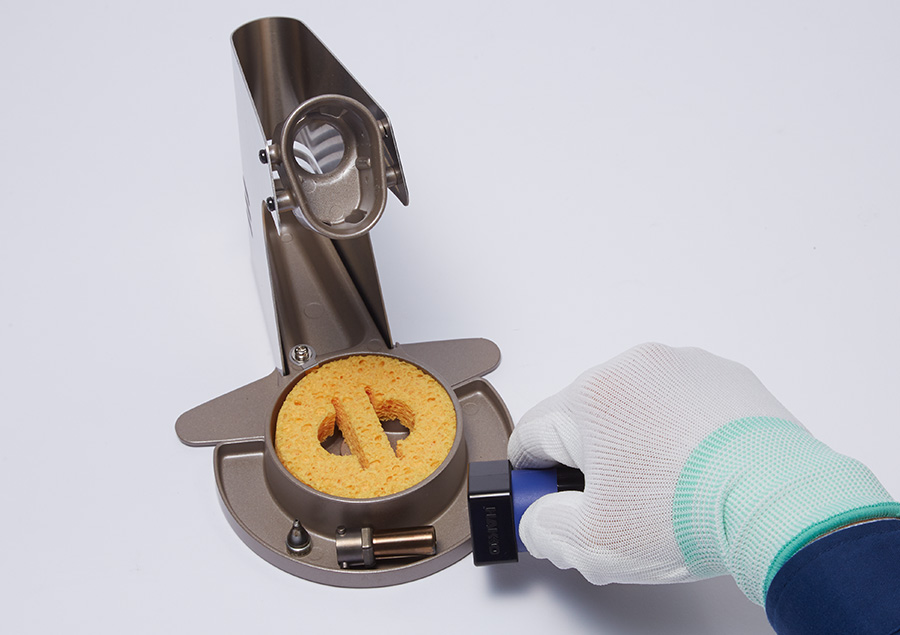
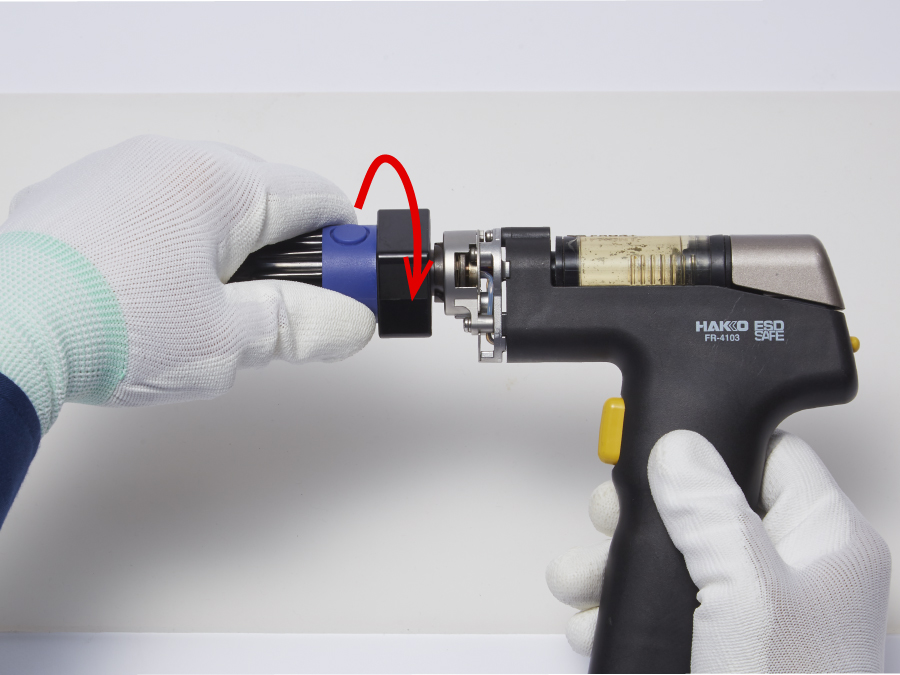
Insert the cleaning drill while turning it clockwise, and pull it out straight without turning.
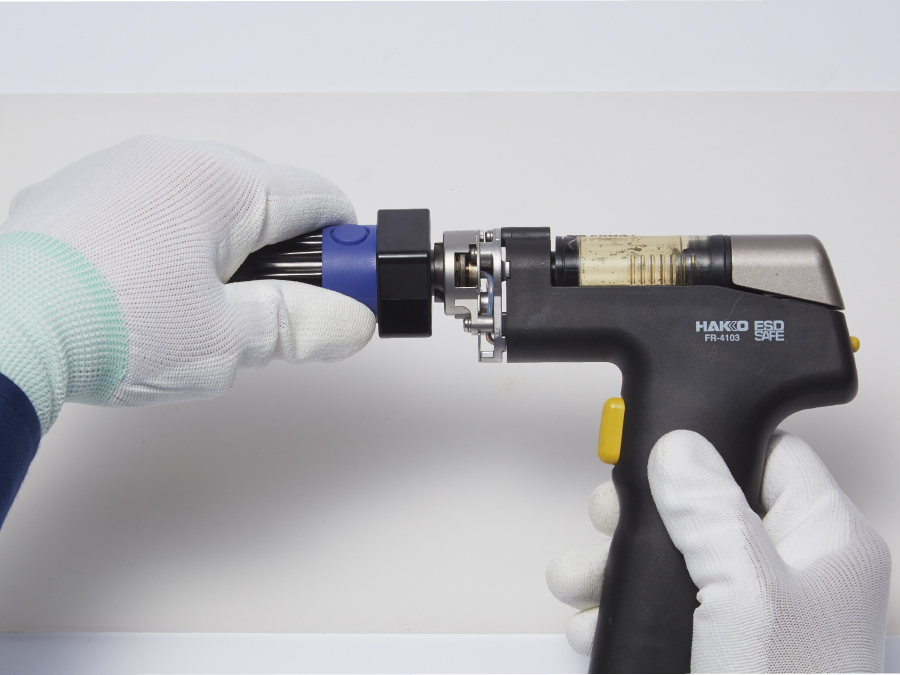
You cannot conduct cleaning if inside the heating element is not heated enough.
Replace the heating element if the cleaning pin (for heater) does not go through the heating element hole.
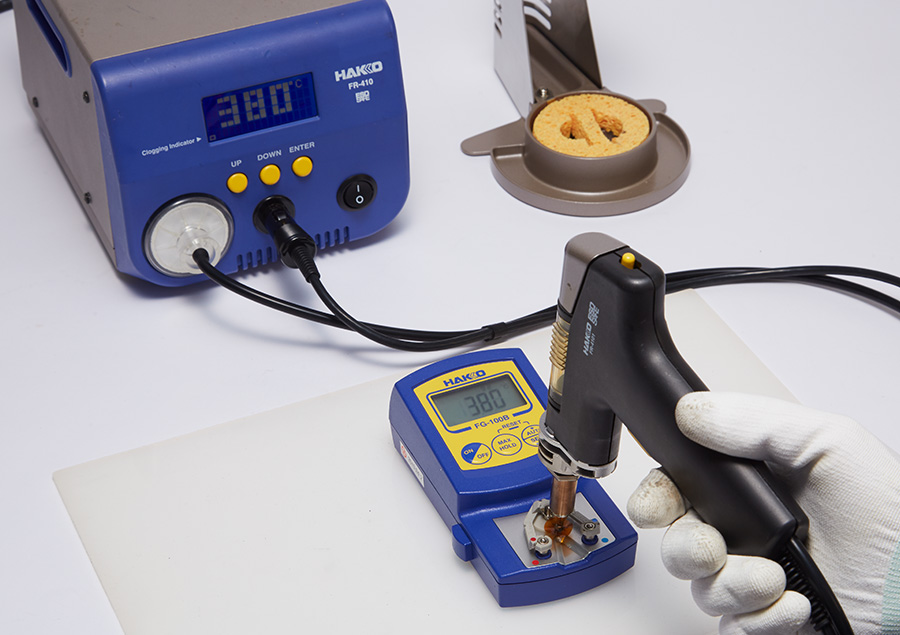
If the set temperature does not match the nozzle temperature, the adjustement of temperature(Changing the offset value or CAL adjustement) is required.
Check the product's instruction manual, referring to the offset setting or temperature correction information.

Confirm that the nozzle is covered with the solder and see if it showed ideal wetting and spreading of solder.