MAINTENANCE/TROUBLESHOOTING/APPLICATION EXAMPLES
Top of Support & Service > MAINTENANCE/TROUBLESHOOTING/APPLICATION EXAMPLES > How to keep the soldering tip in good condition while soldering
Soldering iron is a tool to transfer heat.
For keeping the tip in good condition, it is essential to follow the basic soldering procedures and prevent its pre-tinned area from oxidation. These are the key points to keep the tip in good condition to transfer heat.
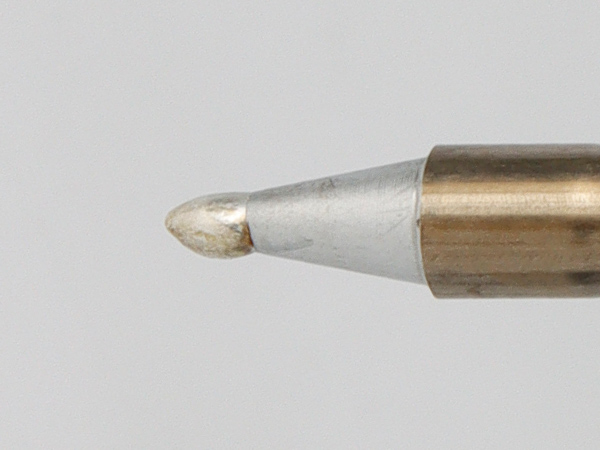
Even the brand-new tip oxdizes!
When using the brand-new tip, turn the power on, and once the iron is heated up, apply the solder to the tip end, where is the pre-tinned area, and cover it with the solder. And make sure the solder wets on the tip.
Turn on the soldering iron, and leave it in the iron holder until it is heated up.
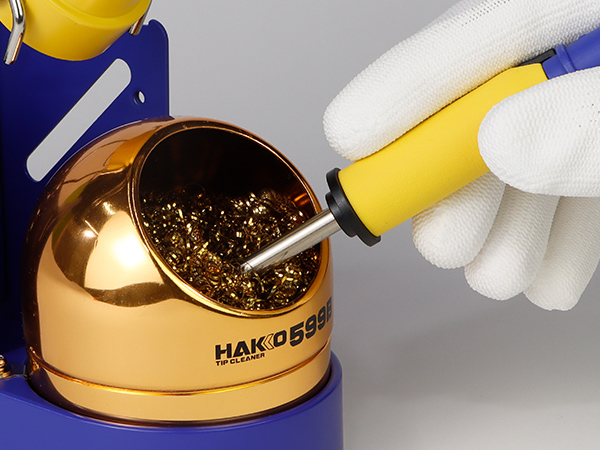
Once the iron reaches the set temperature or is heated enough, use the tip cleaner to remove the solder left on the tip.
Make sure to clean the tip BEFORE soldering. If cleaning it AFTER soldering, the tip oxidation will accelerate even while in the iron holder as exposed to the air without solder cover.
If cleaning the tip with a wire-type tip cleaner, HAKKO 599B, a small amount of solder remains on the pre-tinned area of the tip even after cleaning. It helps prevent tip oxidation.
Check the tip condition whether or not oxidation is occurring, and make sure the solder wets on its pre-tinned area while soldering.
Please note the following points to prevent tip oxidation.
Set the temperature at the lowest possible for soldering, and do not increase it unnecessarily.
Start at 330ºC~ 350ºC if there is no suggestion or standard for the set temperature.
Then, find and adjust the appropriate set temperature considering how the solder melts and thermal impact on the components.
Do not clean the tip when resting the iron in the holder. (Leave the solder on the tip)
If ther is not enough solder to cover the pre-tinned area of the tip, apply some more to prevent tip oxidation.
Turn the power off when not in use.
Turn the power off if not soldering for more than 5 minutes.
Soldering tips oxidize as exposed to the air.
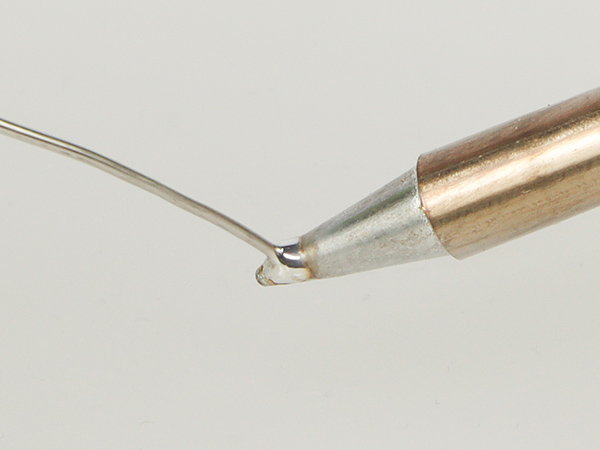
Make sure to leave some solder on the tip to cover the pre-tinned area when placing the iron in the holder.
If there is not enough solder left on the tip after soldering, clean the tip and apply some solder to cover its pre-tinned area. It helps prevent tip oxidation. A little more than just enough amount of solder would be suitable.
Clean the tip to remove the solder left on the tip BEFORE starting soldering again.
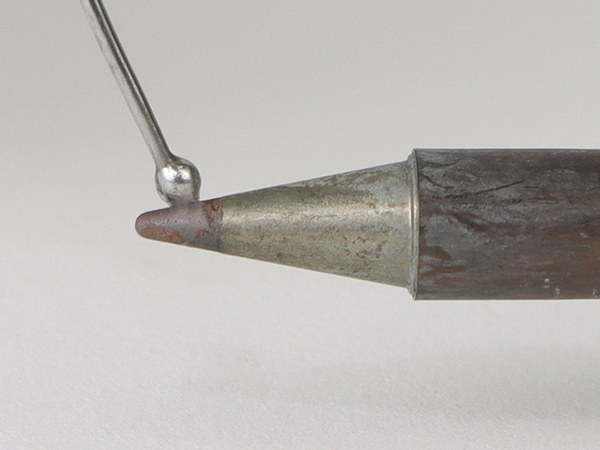
If finding the pre-tinned area of the tip turning darker with oxidation, refer to the page from the link below.
What if solder does not wet on the tip?
The tip condition stays suitable for heat transfer by following the basic soldering procedures.