MAINTENANCE/TROUBLESHOOTING/APPLICATION EXAMPLES
Top of Support & Service > MAINTENANCE/TROUBLESHOOTING/APPLICATION EXAMPLES > Periodic inspection for solder pot
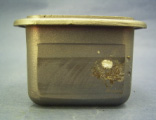
Solder pot gets hole due to corrosion by solder after longtime use, and solder begins to leak.
It is recommended to check the condition of the solder pot before work, and replace it with a new one if you see a problem for your safe and comfortable work.
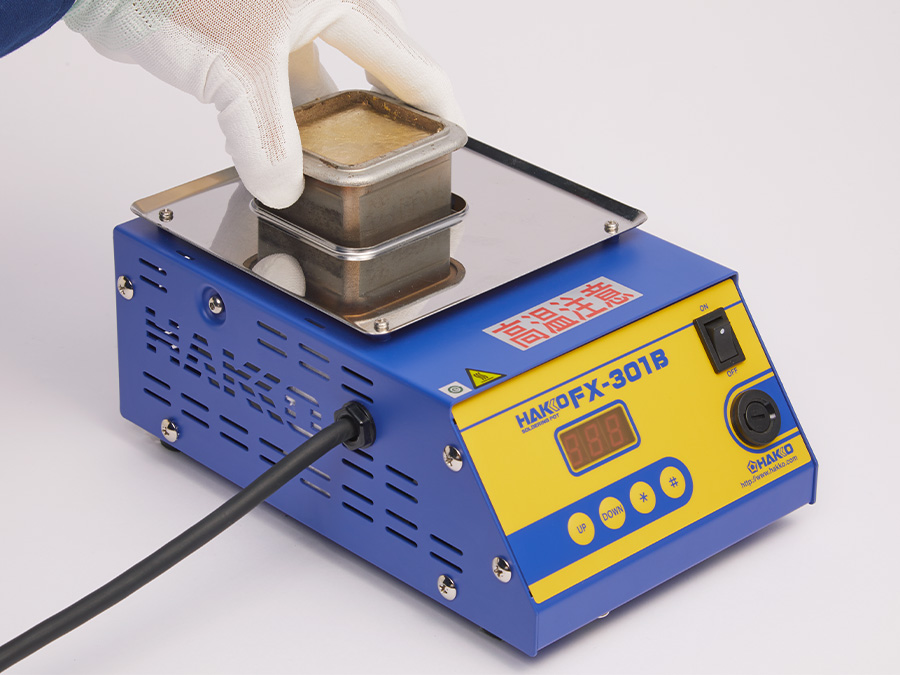
Make sure to do it when the pot is cool.

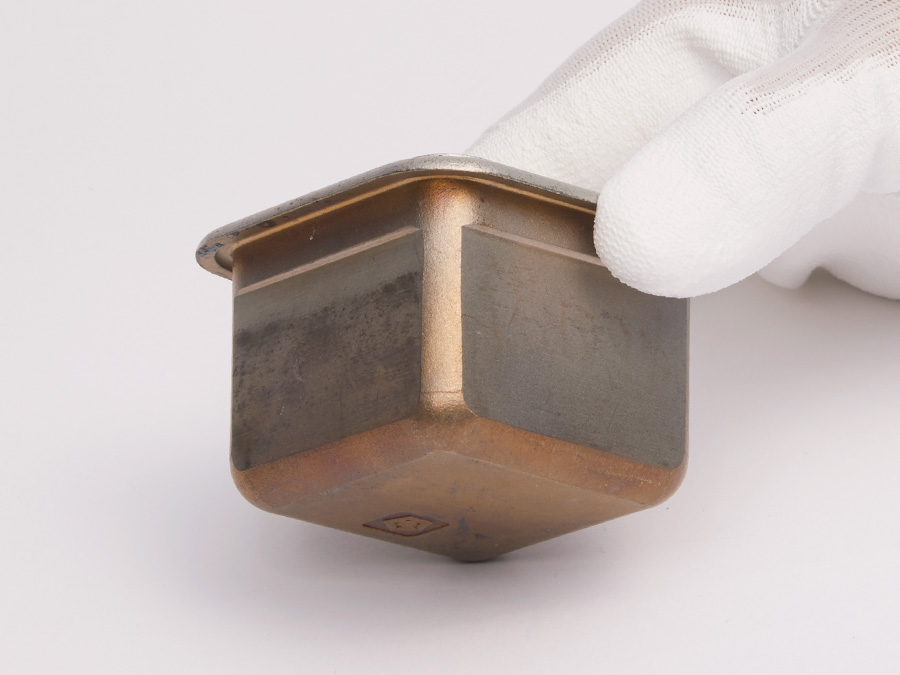
Also, check the sides and bottom surface of it visually.
When the pot gets a hole due to corrosion, the solder slowly leaks out through the hole.
(It never leaks out rapidly like water.)
Pay attention to how the solder in the pot decreases on a routine basis.
Replace the pot with a new one if you see any abnormality on the pot.
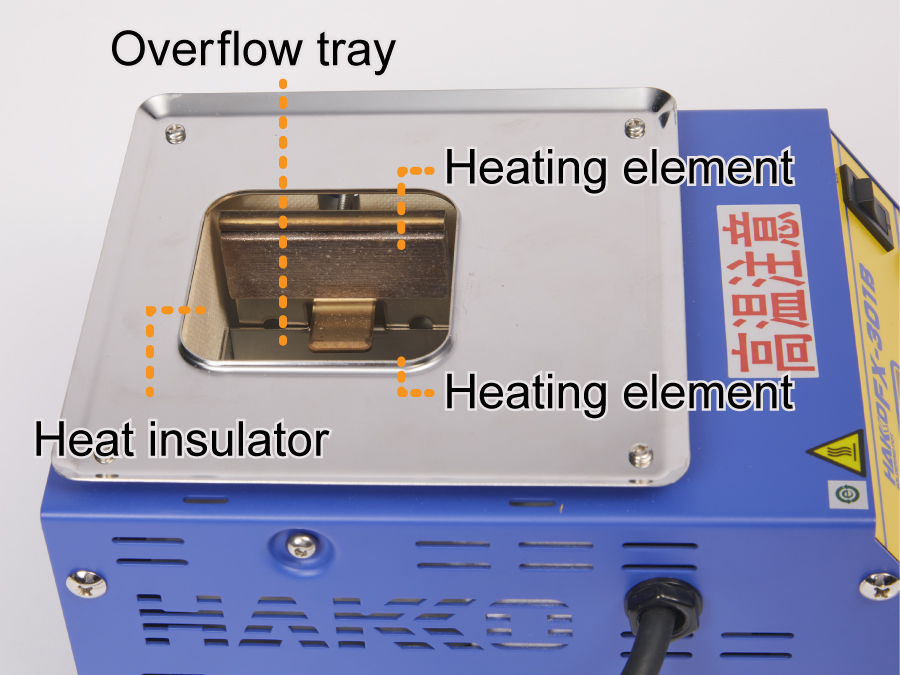
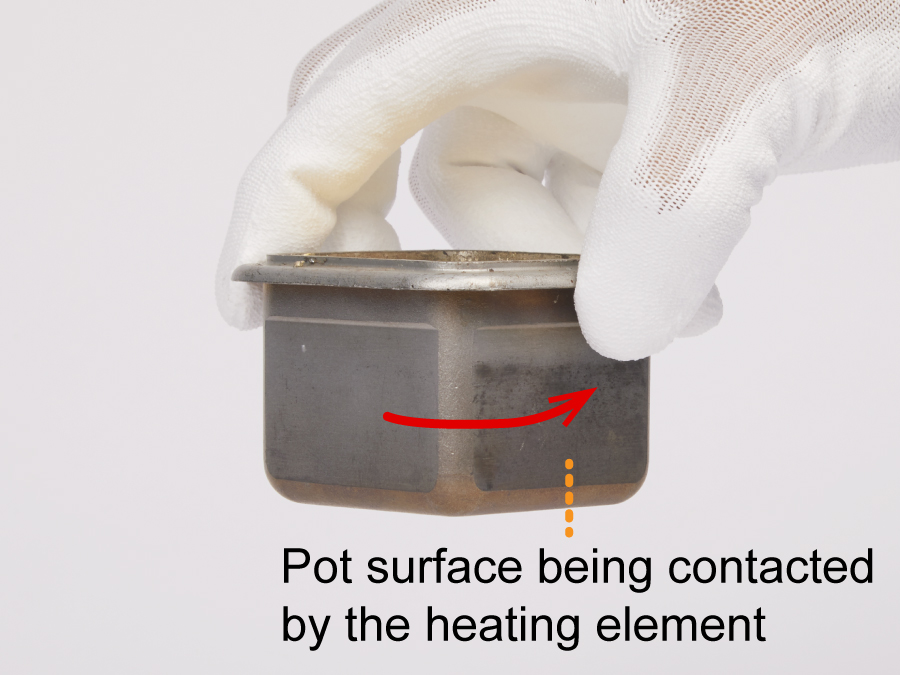
Confirm that there is no solder leakage around the heating element and heat insulators.
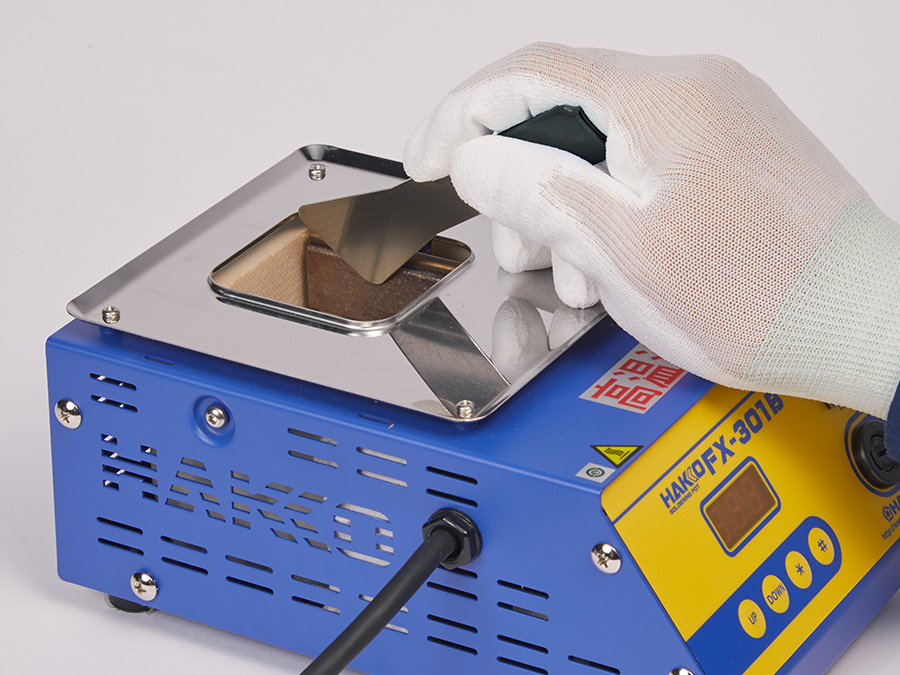
Scrape off the solder lightly with a spatula, etc., and remove solder waste come off.
If you find solder leakage inside the unit, solder pot replacement is recommended even if no major defect was found during inspecing No.2.
In case a lot of solder leakage cannot be removed easily by a spatula, etc., repair work may be necessary.
Turn the pot 90 degrees and install it so that the side that was contacted by the heating element is now facing the insulators.
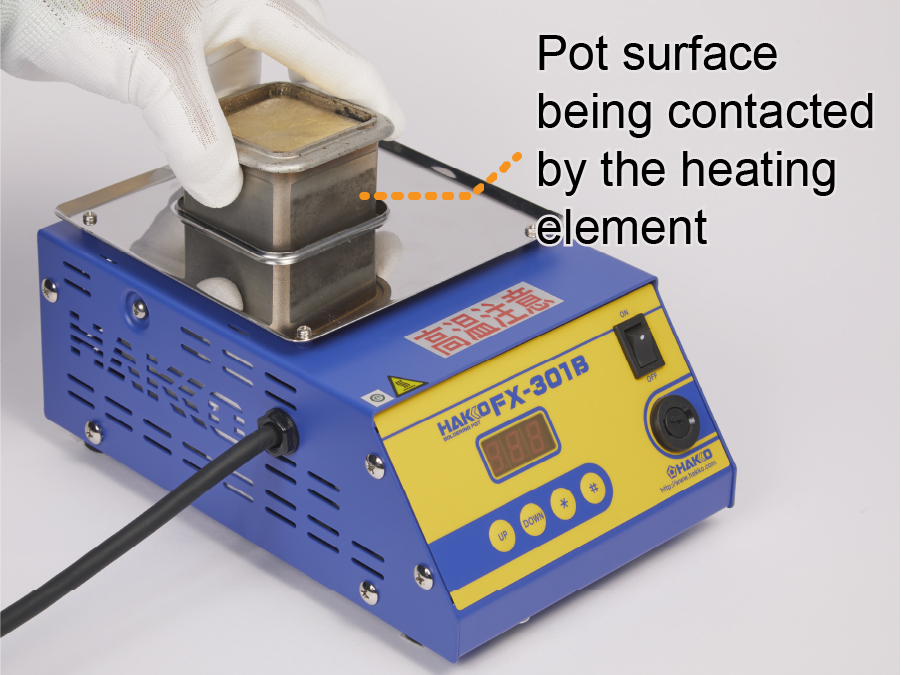
Make sure that the pot is fixed firmly.
If the screws are not tightened enough, the heat cannot be transferred well.