JP / EN
Home
Product Search / Where to Buy
Products
Overseas Affiliates/Distributors
Customer Support
Support & Service
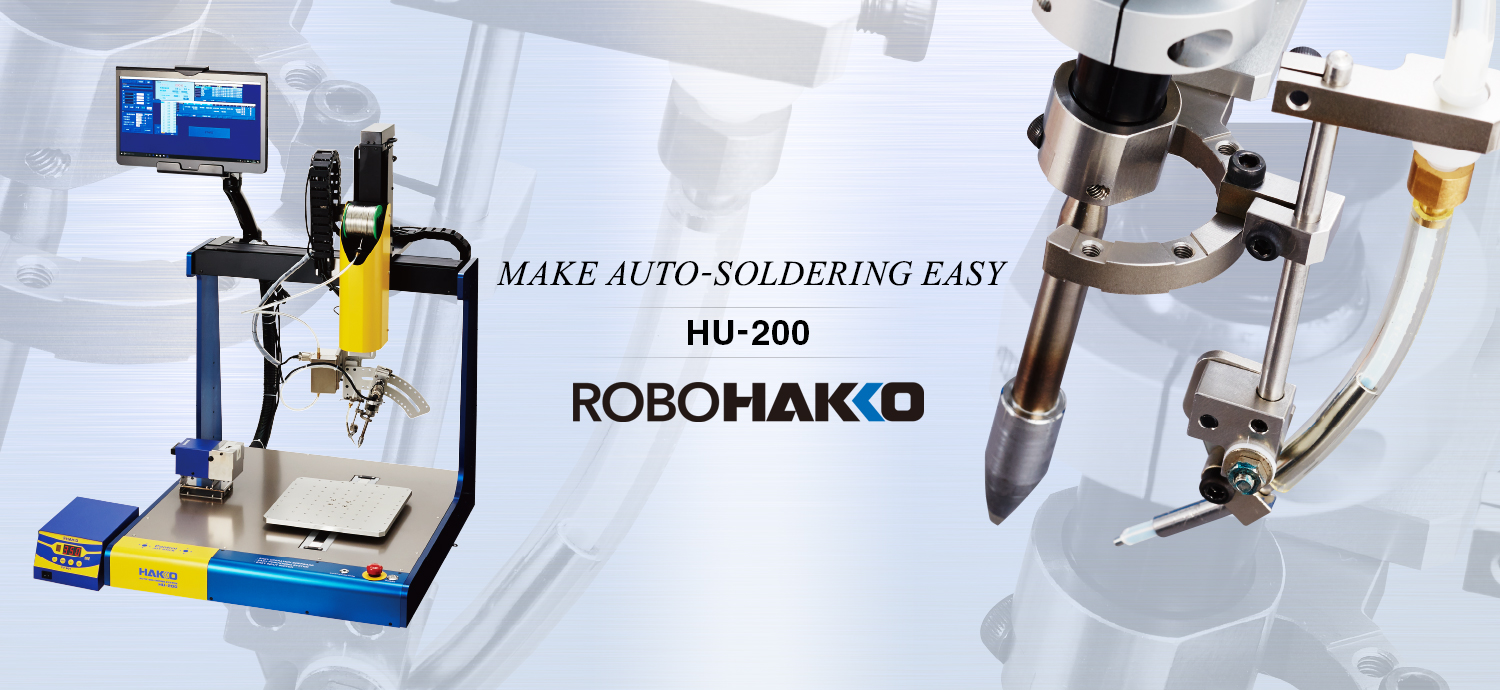
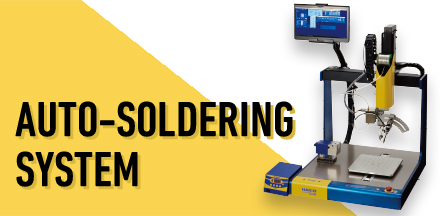
Auto-Soldering System
About HAKKO
Message
Corporate Profile
News & Topics
History
Intellectual Property Protection
Quality Policy / Environment Policy
ISO 9001 and 14001 Certified
Conflict Mineral Policy
Location
Contact us
Privacy Policy
Search
Product Search
View Lineup
View News